

I love Lip Balm and I love everything about it. I love the ingredients that go into it, the flavor and aroma. I also love how it moisturizes my lips no matter where I am or how the weather is.
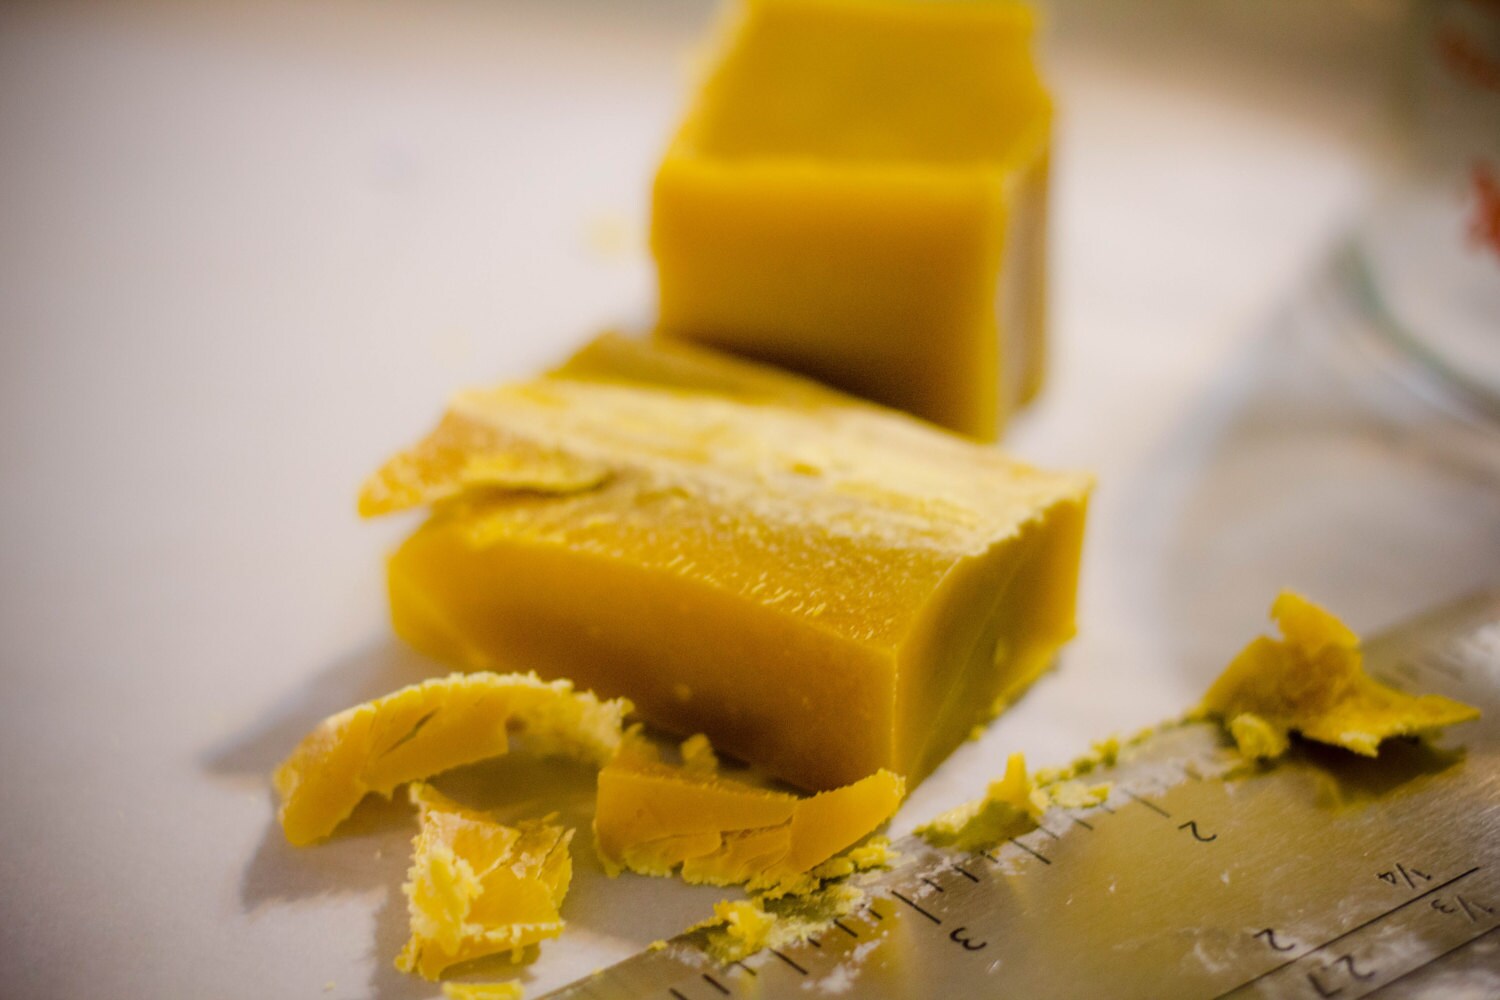
That is why I worked tirelessly to make a lip balm for all to enjoy. It is made from a base of that beautiful local beeswax that I featured on yesterday's blog post. Here it is again in case you missed it.
This post may get a little long, but I wanted to share my process with you. Lip Balm has become one of my best selling products.
When I make my base, I use high quality ingredients. Aside from beeswax, I use unrefined raw shea butter, smooth and silky Jojoba oil, Meadowfoam seed oil & a few others to give the balm a smooth feel. They all get melted very slowly in a crockpot full of water, or a double boiler.
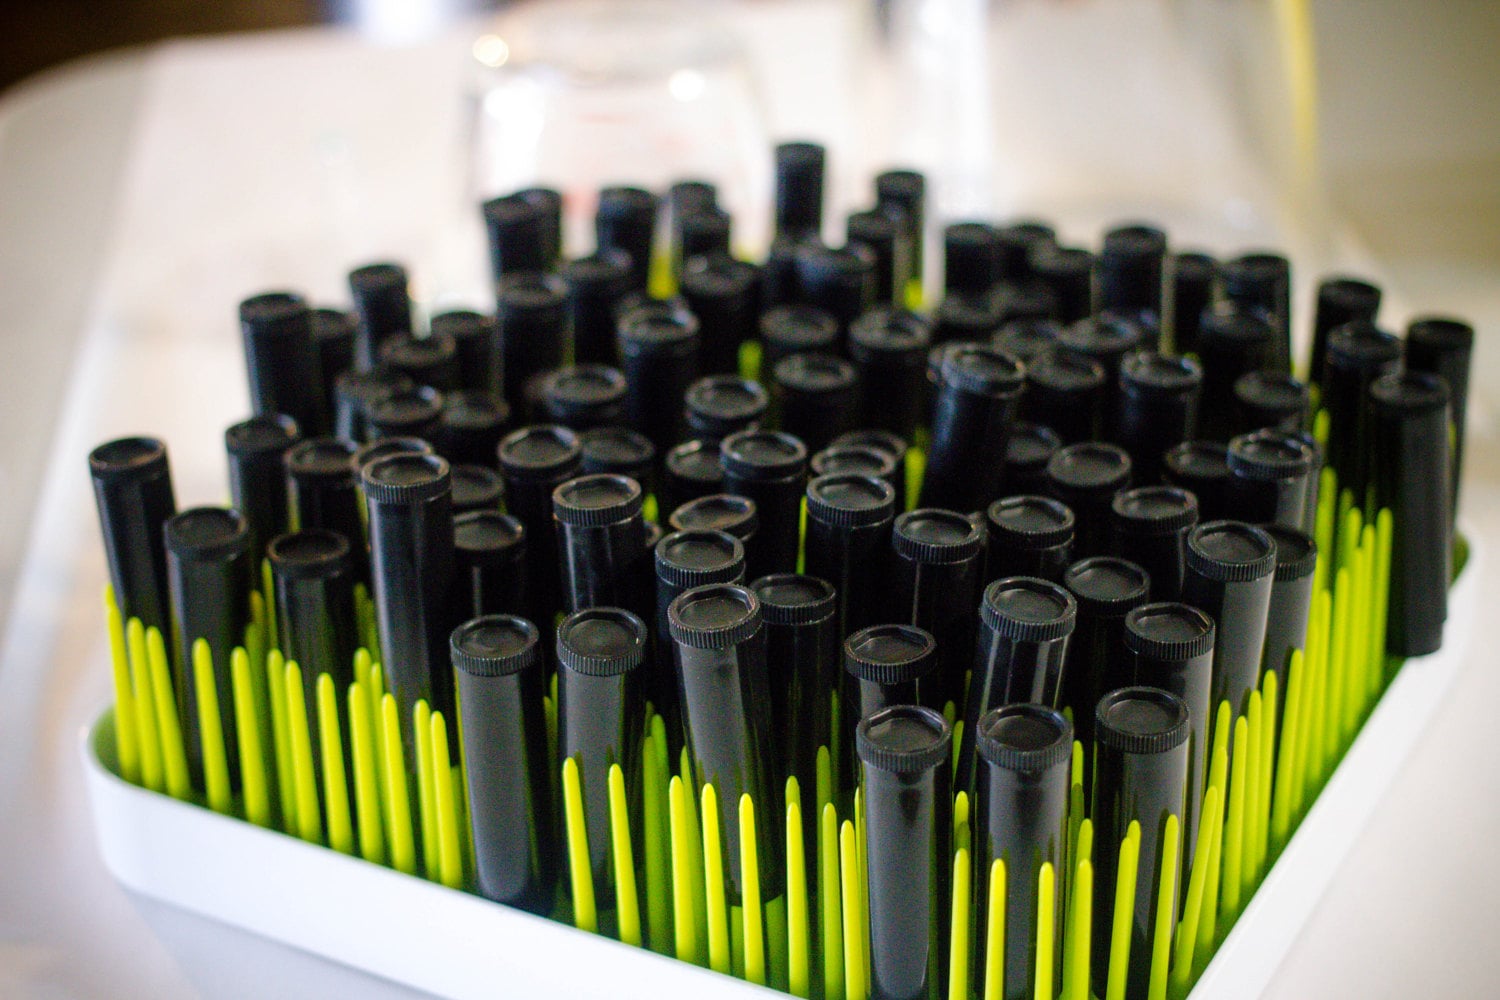
While the oils are busy melting down and staying warm, I gather up my packaging, and sanatize the tubes. For this I use a 70% alcohol solution and spray the inside, and outside of the lip balm tubes. They then get placed on this nifty little drying rack.
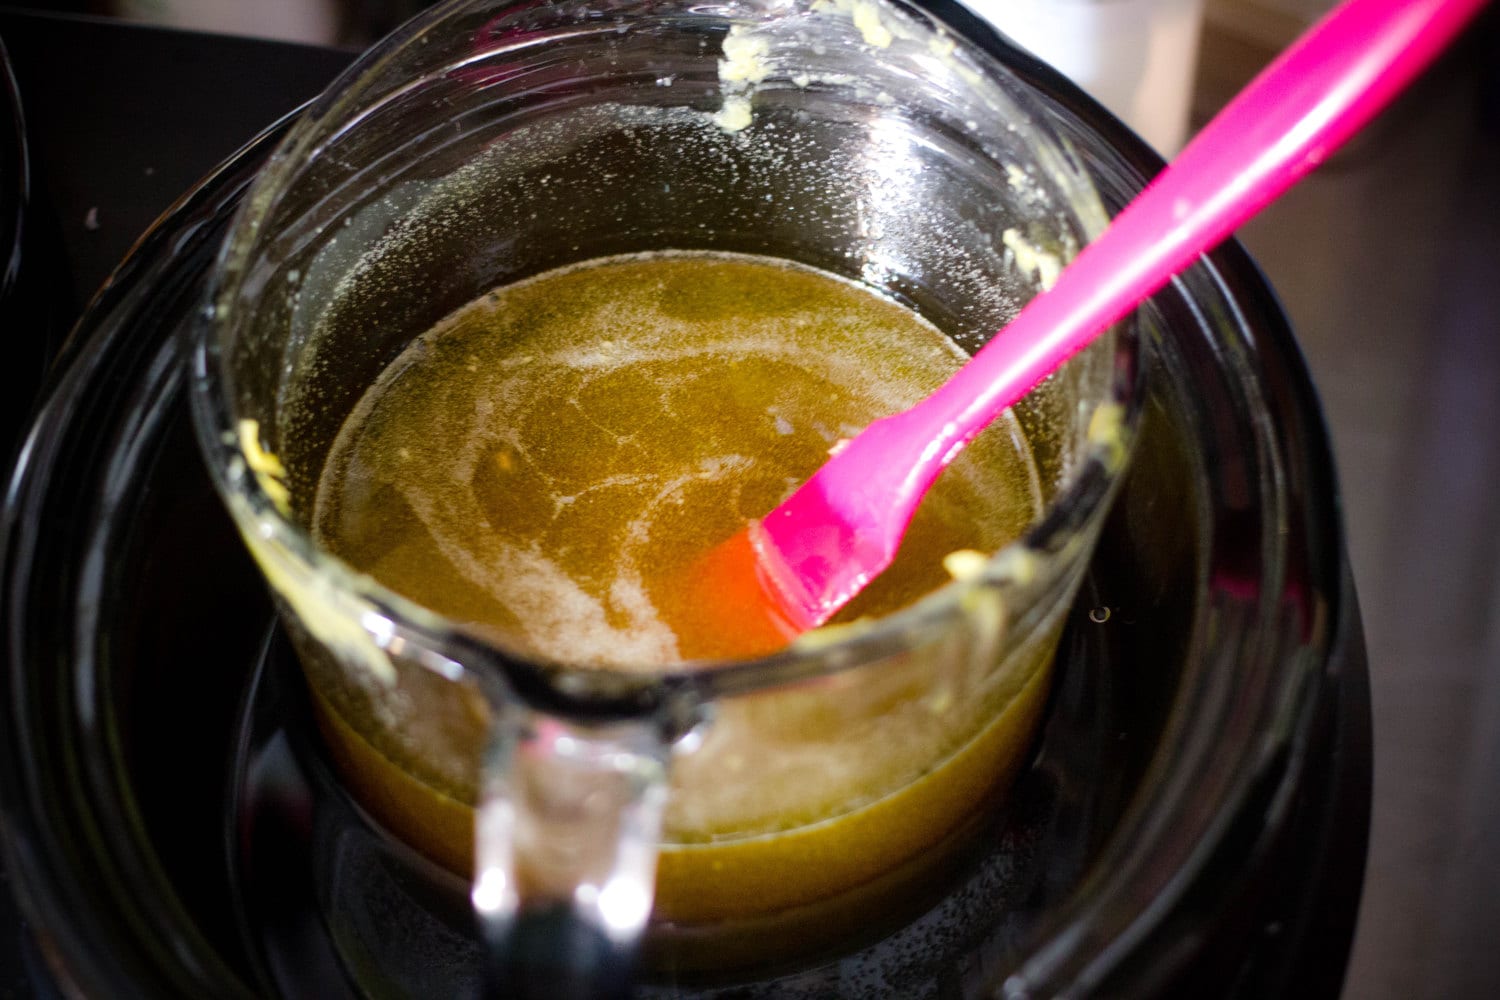
After the oils have been melted for a few minutes, they get blended really well so that there is no seperation. Then I removed the desired amount of the base and place it in a smaller container for flavoring.
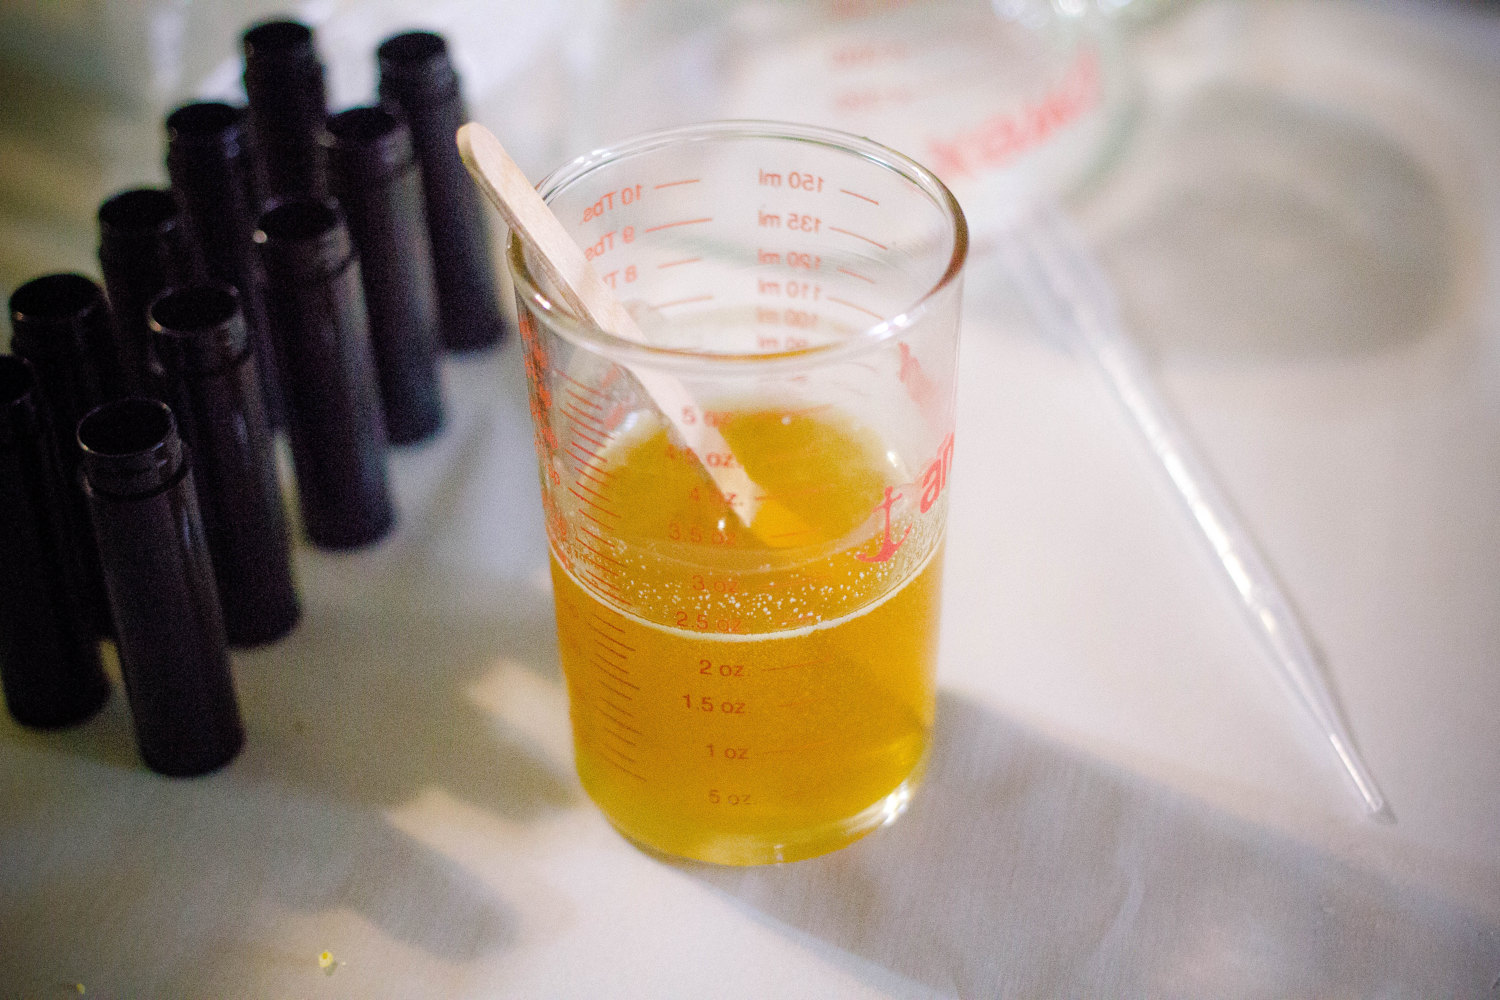
The flavor gets mixed in and then the balm is ready to be put in the tubes. I always double check to make sure all tubes are completly dry before adding oils. My favorite way to add the oils to the tubes, is by using a disposable pipette. It allows me to control every drop that goes into the balm.
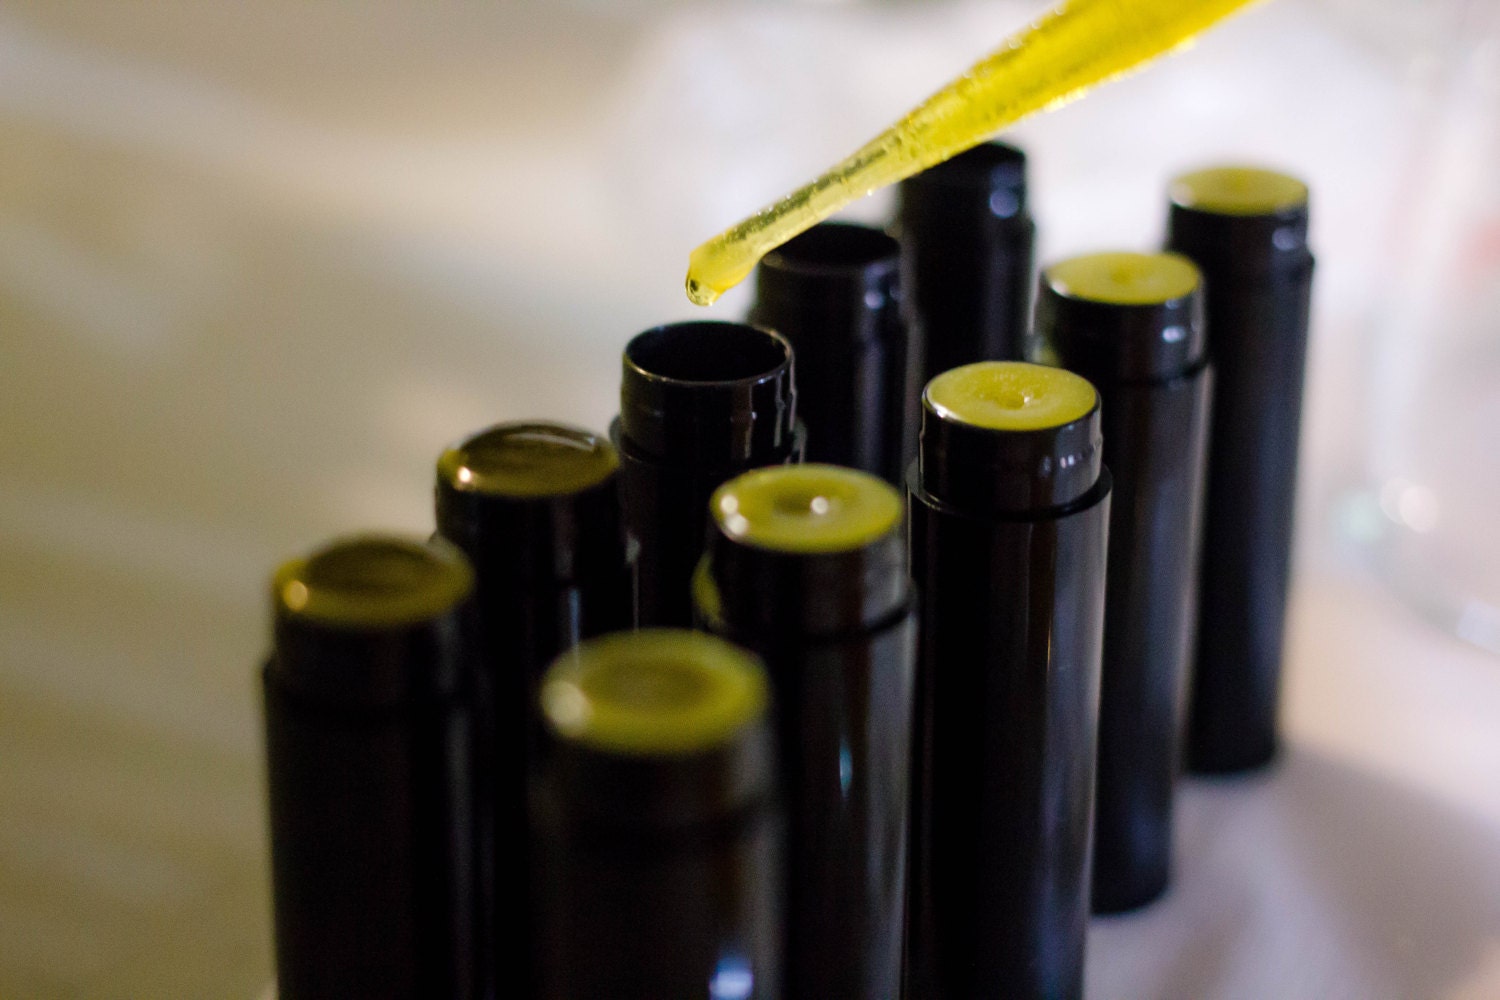
You can see in the picture above how fast the lip balm cools. I started with the far right container and moved forward. The first balms are already solid. But still warm. They take a few hours to completly cool down.
And there you have it! Caps get put on according to scent and color, then the containers get another wipe down, and labeled. I also add an extra layer of shrink wrap for protection.
With Infused Bath & Body Lip Balms, there is no need to remove the shrink wrapping. Just twist the lid (hard) and the balm will pop open.
I hope you enjoyed learning about the process I use to make Lip Balm. I hope you enjoy the lip balm even more!
To buy some, click on shop link above, or right here https://www.infusedsoap.com/shop/5854277/lip-care
#nowTHATmakesScents